How to photograph surfing from the water: a practical guide
Shooting surf from the water gives you angles nobody on the beach can get: the face of the wave, spray coming at you, the surfer's expression at eye level. It also puts you in the same crowded, moving and sometimes dangerous space as the people you photograph. This guide covers what surf photographers sort out before getting in: fitness and fins, where to float, handling sets with a housing, lens choice, line-up etiquette and safety limits.
Fitness, swimming and fins
In-water surf photography is swimming first and photography second. You will tread water for an hour or more, sprint to reposition and dive under breaking waves with a housing in your hands. You need to be a strong, confident swimmer who already understands how waves, currents and surfers move, ideally from surfing that spot yourself.
Most photographers use short bodysurfing fins rather than long diving fins: they accelerate fast and turn in tight spaces. Wear fin savers, put your fins on before you enter the water, and stay out only as long as you could still swim back in strongly.
Where to position yourself
Where you float decides how safe you are and what you shoot. One rule never changes: stay out of the take-off zone, where surfers paddle into waves and get to their feet. A photographer there blocks waves and gets run over. Watch several sets from the beach first to find the peak, the direction of the ride and the channel.
- The channel Deeper water beside the break where waves usually don't break. It is the safest spot and the natural place for a 70–200 mm lens, often shot from a bodyboard.
- The shoulder The unbroken face ahead of the surfer, beyond the take-off. The rider comes towards you with the wave behind. Stay far enough ahead to leave a clear line, and be ready to dive.
- Close in Just in front of the section where the surfer will turn or get barrelled. This is fisheye territory and the most exposed spot, only for experienced swimmers who know the wave. Even here, stay off the surfer's line.
Reading sets and duck-diving with a housing
Between waves, look out to sea, not only through the viewfinder. The biggest waves of a set can break further out than the ones you have been shooting. Count the waves in each set and use the lulls to reposition; if a bigger set appears, swim towards the channel early.
When a wave is about to break on you, take a breath and pull the housing in close, against your chest or low by your hip, never out in front where the wave can tear it away or push it into your face. Dive deep, kick downwards and come up facing the sea. Keep a wrist leash on the housing. If a surfer is heading at you, dive early: getting out of the way is your job, not theirs.
Lens choices: distance decides
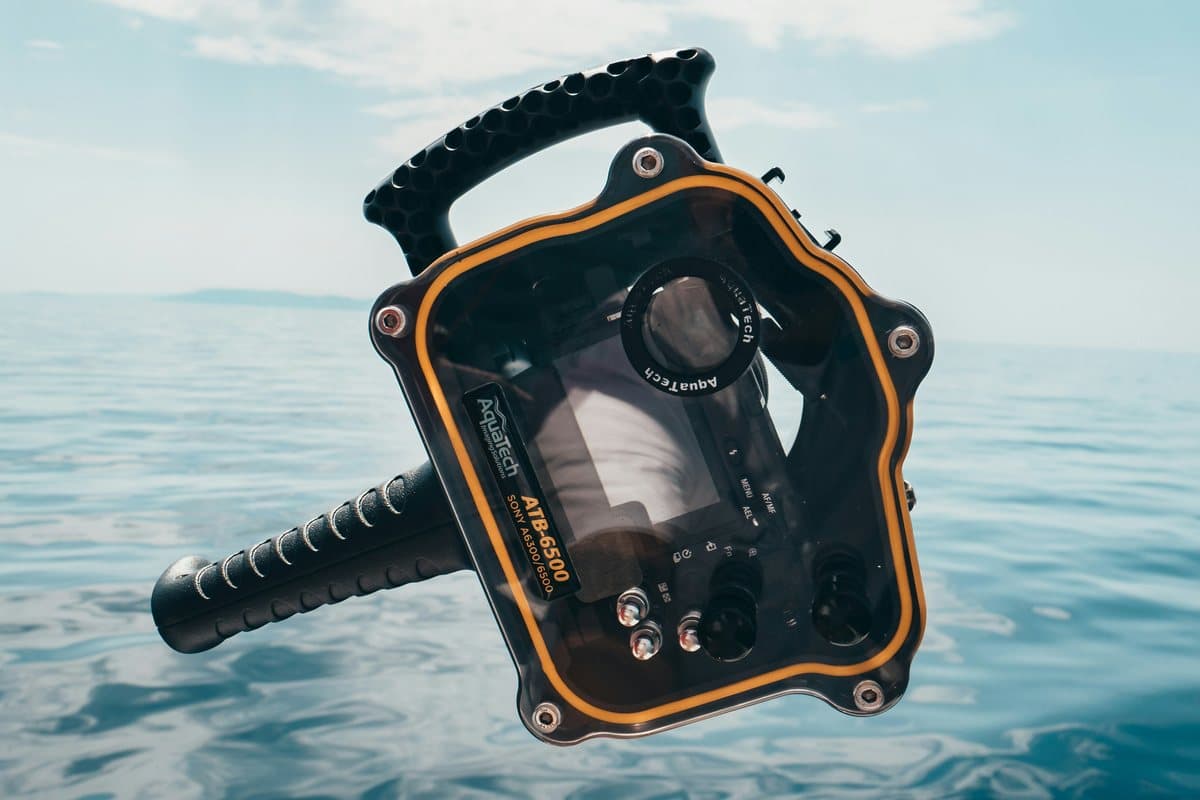
You cannot change lenses once you are out, so choose for the wave and for how close you can safely get. Fisheyes and wide lenses up to about 20 mm go behind a dome port; longer lenses go behind a flat port.
- Fisheye (about 8–15 mm) For barrels and turns at very close range, often within a metre of the surfer. A few metres away, subjects already look small. Many photographers shoot at f/8–f/11, pre-focus at about a metre and switch to manual focus.
- 50 mm A common first water lens: it keeps you a few metres back, off the surfer's line, while still feeling close.
- 85 mm More distance, a tighter frame and a softer background; useful on the shoulder of bigger or busier waves.
- 70–200 mm The channel lens, which needs a long flat port. Usually shot from a bodyboard, it compresses the wave and follows the whole ride from a safe distance.
Composition from water level
The water-level view is the reason to get wet. Four habits help:
- Keep the horizon level The water tilts you constantly, and a crooked horizon is the most common flaw in water shots.
- Shoot the surfer coming towards you A face with the wave behind reads better than a back going away. Place the rider off-centre with room ahead.
- Stay low Shooting close to the surface makes the wave look taller and puts spray in the foreground.
- Use the light Low morning and evening sun makes backlit spray glow; at midday, keep the sun behind or beside you.
Etiquette with surfers and locals
A photographer in the line-up is a guest. Before you get in, tell a few surfers where you will be and whether you intend to publish or sell the pictures. At spots with a strong local crowd, ask first, and if people don't want a camera in the water, leave. No photo is worth the conflict.
In the water, surfers always have priority and you have none. Never swim across the path of someone paddling for or riding a wave, and give beginners extra room because they cannot steer around you. Wear a bright cap or vest so people see you, and if someone asks not to be photographed, respect it.
Safety limits
The rule experienced photographers share: if it looks too big, heavy or scary to swim, it is, so shoot from land. The specific limits:
- Shallow reef and rock Never swim over shallow reef on big days or at low tide. Know the safe entry and exit points, and wear a surf helmet where the bottom or boards can hit you.
- Big days Calm-looking channels can close out when a bigger set arrives. If you doubt you could swim out of the impact zone holding the housing, stay on the beach.
- Currents Find the rips before you enter. If one pulls you out, don't fight it: swim parallel to the shore until you are free, or float and signal for help.
- Crowds and fatigue A packed take-off full of beginners is no place for a swimmer. Get out while you still have energy for the swim back.
- Never alone Don't shoot alone at powerful or remote spots, and tell someone on shore when you will be back.
Checklist before you paddle out
Run through this on the beach, not in the water:
- Housing O-rings clean and seated; dunk-tested in fresh water, every button checked.
- Camera Battery charged, card empty, shutter at 1/1000 s or faster, focus set.
- Port Dome wet with saliva; flat port waxed or a squeegee at hand.
- Leash and fins Wrist leash on, fins with fin savers on before you enter.
- Visibility Bright cap or vest, helmet where needed, the right wetsuit.
- Conditions and people Tide, swell, rips and exit points checked; someone knows your plan.
Frequently asked questions
How good a swimmer do I need to be to shoot surf from the water?
Good enough to swim for an hour or more in those conditions, dive under breaking waves again and again and swim back in tired, all while holding a housing. If you would hesitate to swim the spot without a camera, you are not ready to swim it with one.
How close do I need to be for fisheye shots?
Very close: usually within a metre of the surfer for barrel shots and a few metres at most for turns. Further away, a fisheye makes the surfer look small and distant, which is why this work is only for strong swimmers who know the wave.
Can I shoot surfing from a bodyboard?
Yes, many photographers do with longer lenses. A bodyboard lets you rest in the channel and hold a steady position for a 70–200 mm. It suits close-range fisheye work less, because there you need to dive under waves quickly.
Can I start with an action camera or a phone housing?
Yes. An action camera, or a phone in a proper housing, is a common way to learn positioning, timing and water skills before investing in a camera housing. These cameras are very wide, so you still need to be close, and the same safety and etiquette rules apply.